
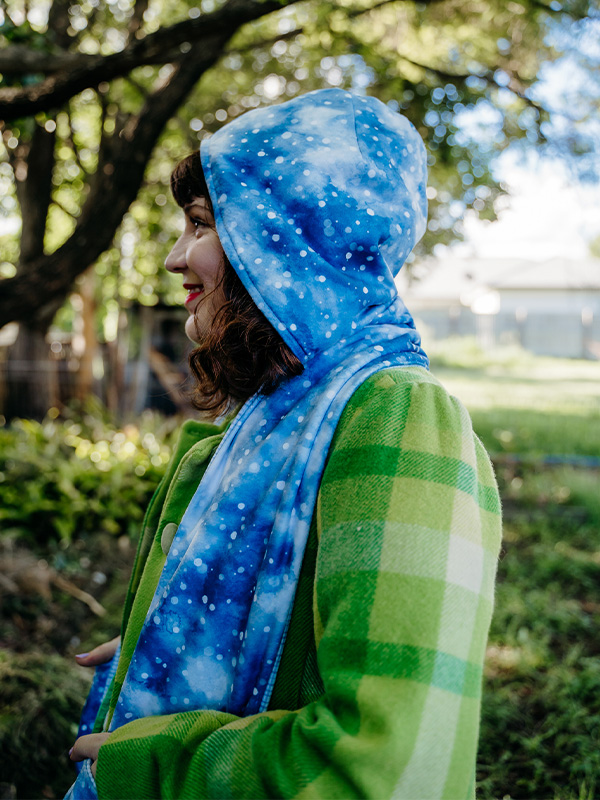
Featured designs: Cold Snow Winter Blue by ninola-design and Indigo Brush Weave by danika_herrick
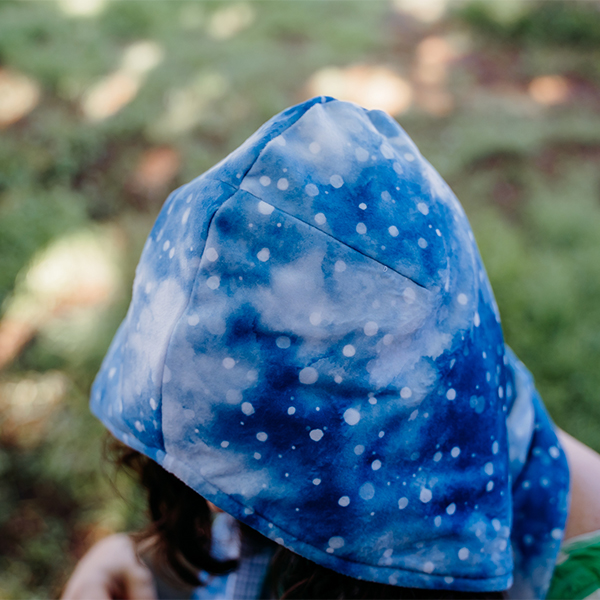
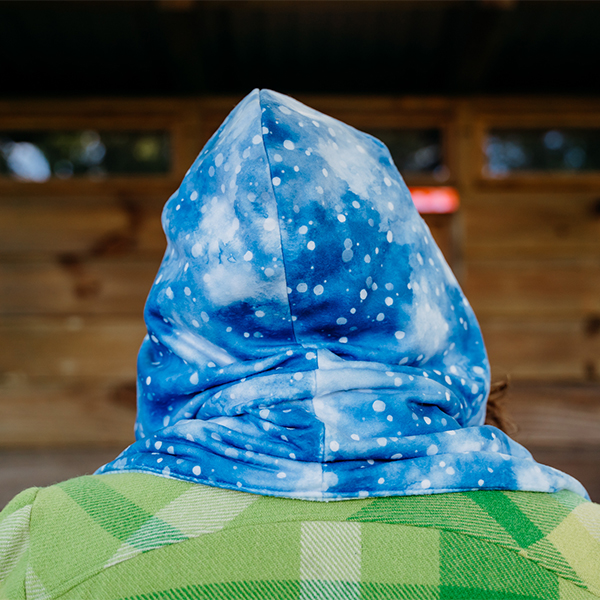
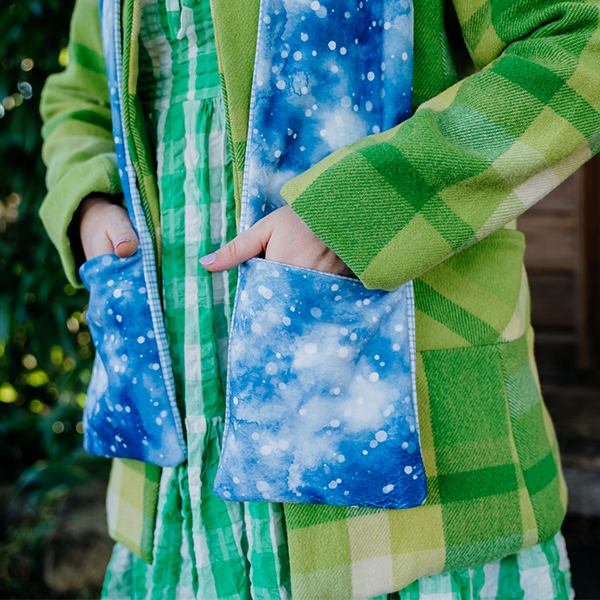
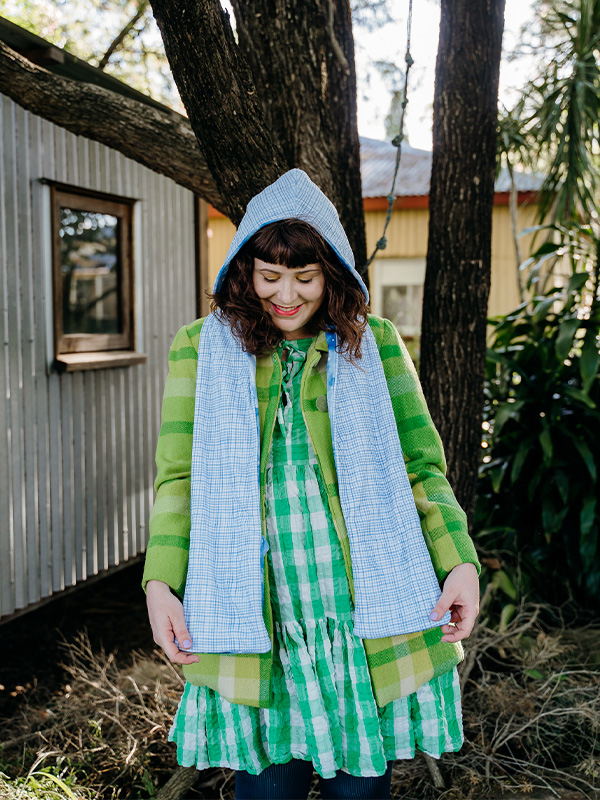
Less is more when it comes to a hooded scarf. Rather than keeping up with a scarf and hat, have it all-in-one with this snazzy piece. Made with Polartec® Fleece, a hooded scarf (also known as a snood) is the perfect winter accessory for staying cozy and warm. Who doesn’t love pockets? Add some to your snood to make it your go-to scarf. And some optional cute ears for a little extra fun! Keep reading as our friends at Peppermint magazine share a free template plus the steps to getting you in the snood!

Peppermint: A sweet little make to get you through the cooler months! This hooded scarf is great for beginners looking to work with Polartec® Fleece for the first time. If you’re looking for a super soft addition to your wardrobe—this is it. Add it under coats for extra warmth or show it off on top of your outfit. Looking to make an extra cute version? Add ears to your snood, we’ll show you how!
Skill level:
Beginner
Materials
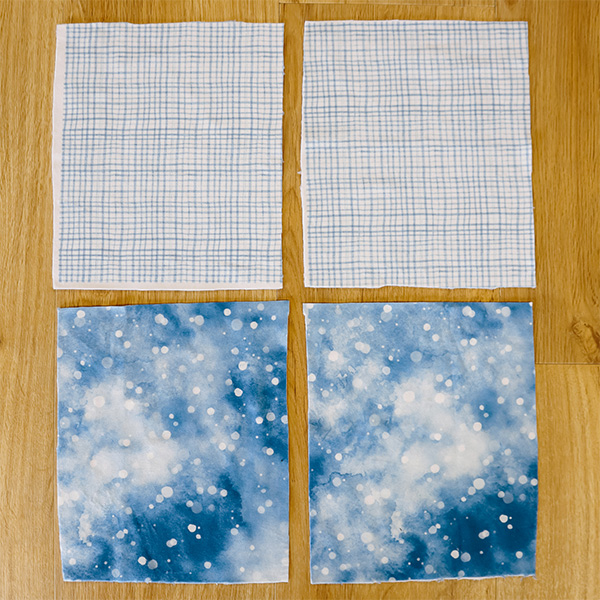
- 2 yards of Polartec®️ Fleece—we’re using a yard each of both Cold Snow Winter Blue by ninola-design for the outer design and Indigo Brush Weave by danika_herrick for the lining
- Lightweight fusible interfacing
- Fabric scissors
- Iron
- Thread
- Sewing machine
- Printed pattern
- Ruler (optional)—to measure your scarf fabric
Shop Best-Selling Winter Designs


Steps to Make a Hooded Scarf
Step 1. Print your pattern
Download and print your pattern via the link here. Please note all seam allowances are 0.4” (1 cm).
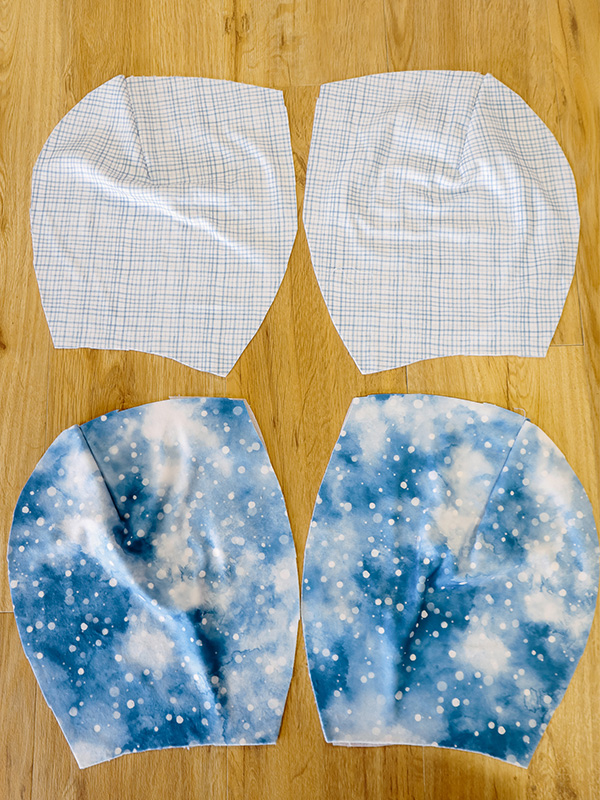
Step 2. Cut out your pattern pieces
Cut out your pattern pieces as noted below.
Right-side Outer fabric:
- Hood piece x 2
- Scarf piece x 2
- Pocket piece x 2
- Ear piece (optional) x 4
Wrong-side Lining fabric:
- Hood piece x 2
- Scarf piece x 2
- Pocket piece x 2
Lightweight fusible interfacing:
- Hood edge piece x 2
Don’t Forget To Cut Out Your Scarf Fabric!
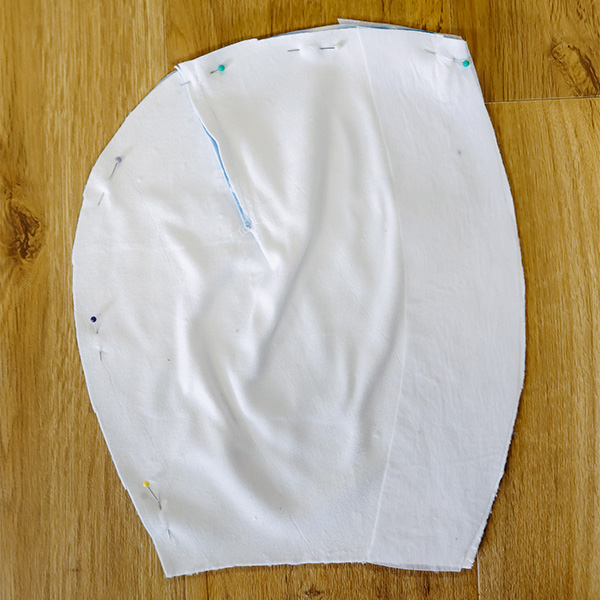
Step 3. Iron interfacing to the wrong side of the front of the hood
Iron your interfacing pieces onto the wrong side of your outer fabric pieces only.
Step 4. Add your hood’s ears (optional)
If you’re making your hood with ears, stitch two ear pieces, right-sides together, leaving the base open. Turn right sides out, press and top stitch. Repeat for the other ear.
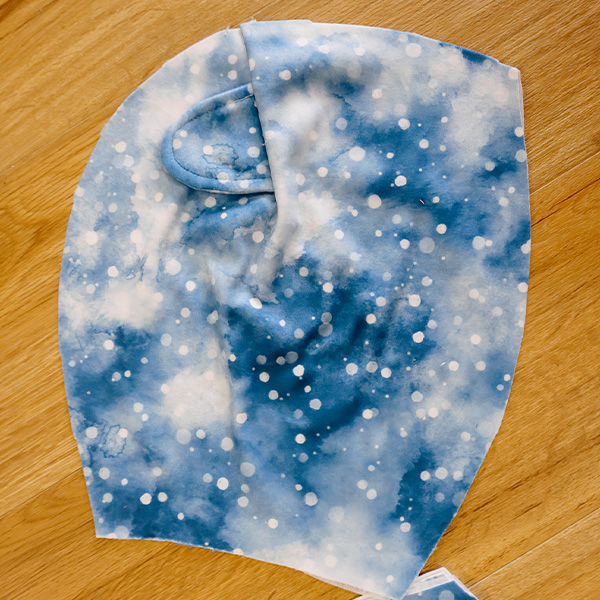
Step 5. Stitch hood darts
Stitch the hood darts that are located on all hood pieces.
Adding Ears?
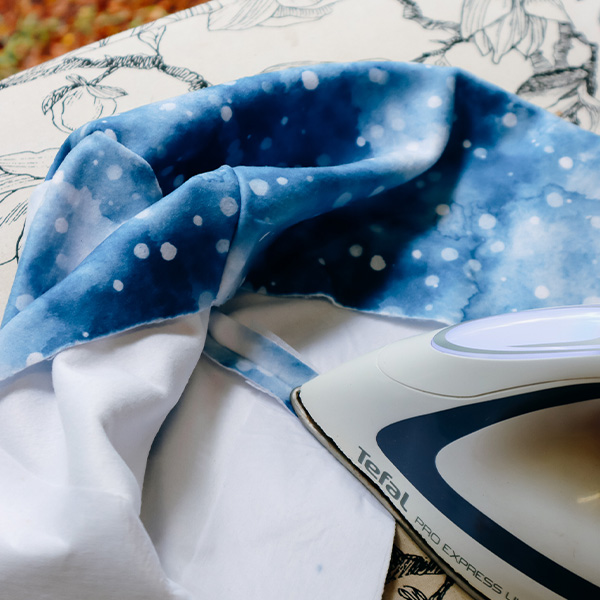
Step 6. Sew the middle seam of your outer and lining fabric
With the right sides together, sew down the middle seam of the outer fabric. Repeat with your lining. Turn the hood pieces right side out and press the seams open.
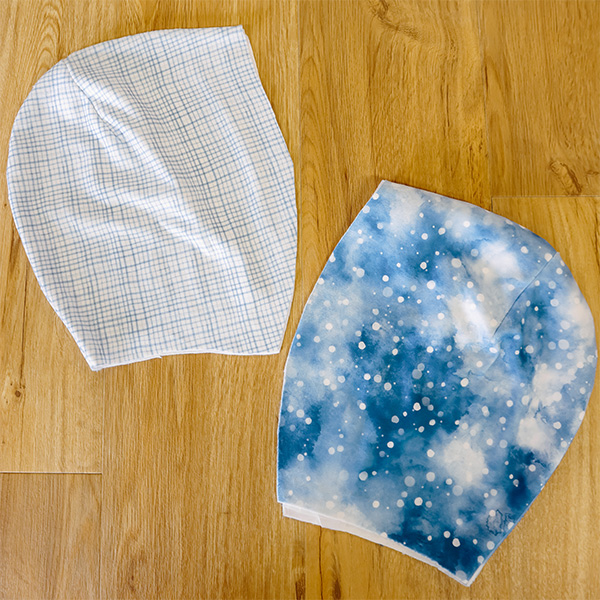
Step 7. Sew outer and lining pieces together
Place the outer hood and lining hood right-sides together and stitch around the edge, leaving the base open. Press and top stitch. Now your hood is ready to meet your scarf!
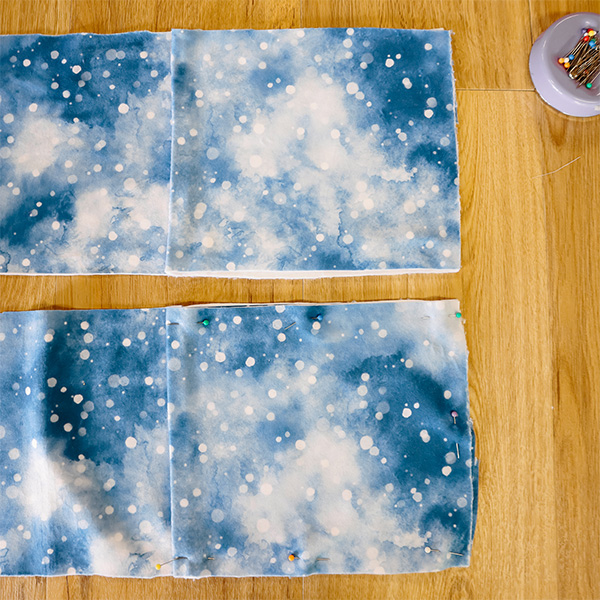
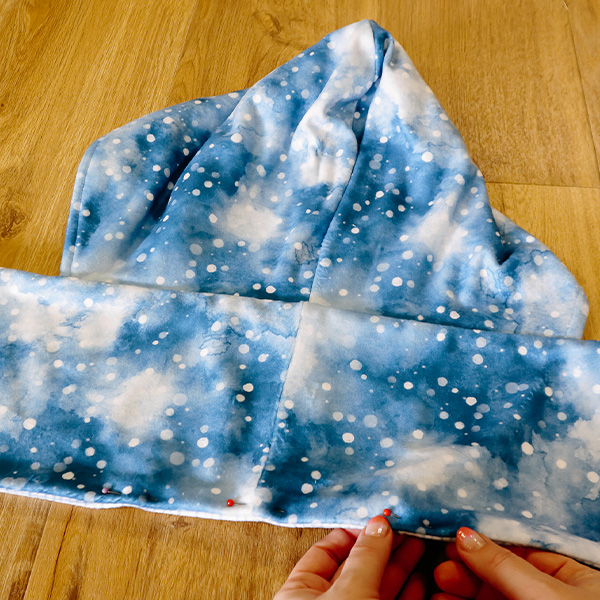
Step 8. Stitch the middle seams of the scarf fabric
Stitch together the middle seam of the outer scarf fabric, and press open. Repeat with your lining.
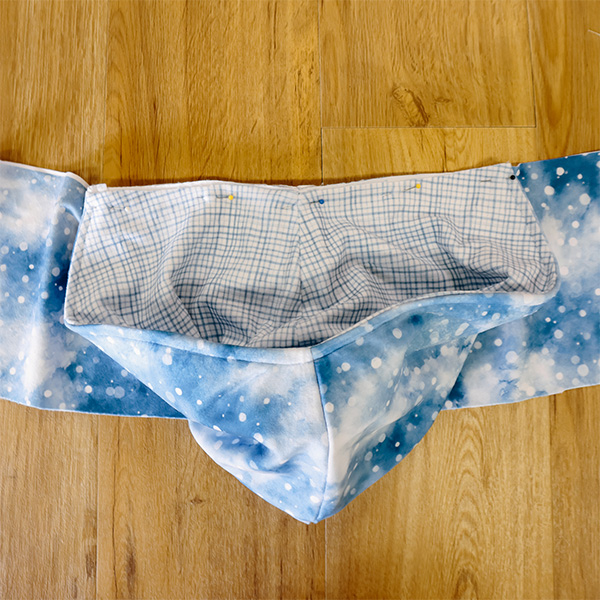
Step 9. Attach the hood to the outer scarf fabric
Attach the hood to the outer scarf fabric by placing the right side of the hood to the right side of the scarf, matching up notches and middle seam.

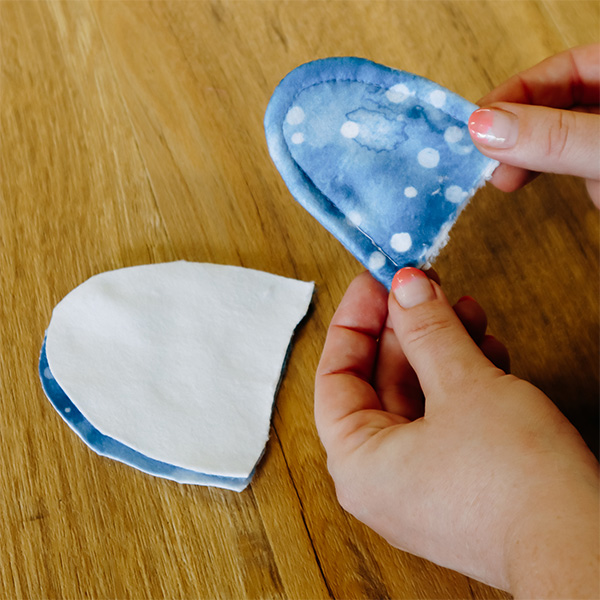
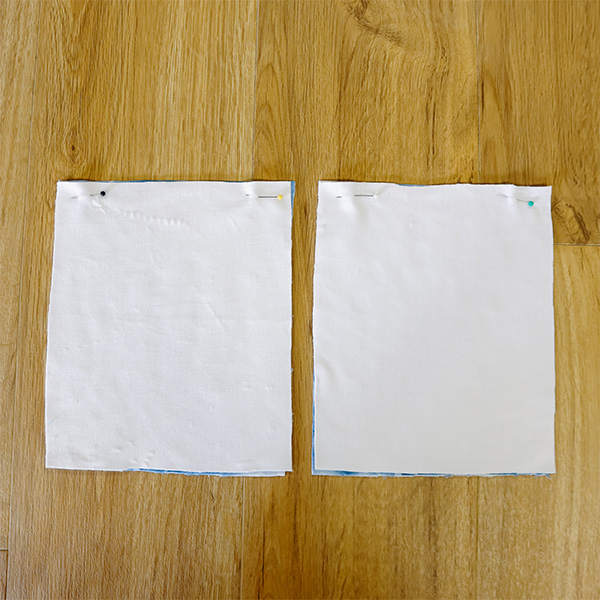
Step 10. Make mittens (optional)
If you prefer to have a snood without mittens, you can skip to step 11. To make the mittens, place one outer mitten piece and one lining mitten piece right-sides together and stitch along the top edge. Turn it right sides out and press along the top seam. Repeat with the other mitten.
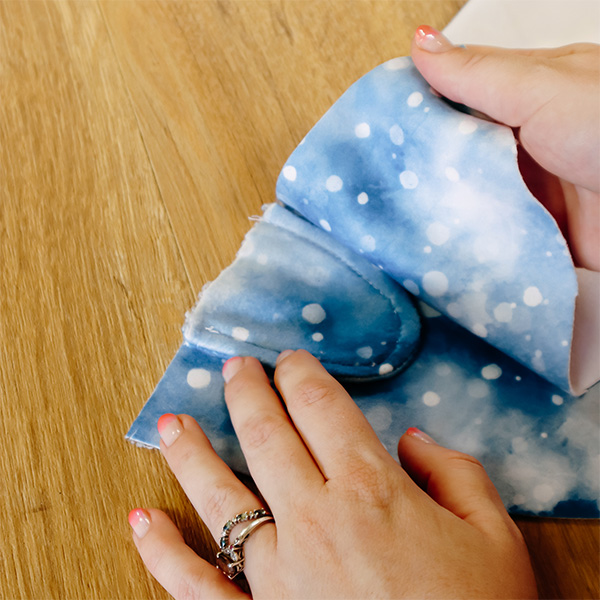
Now that your mitten squares are sewn at the top edges, it’s time to stitch them to your scarf. At each end of the scarf, place a mitten onto the right side of the fabric and stitch down the edges to secure them. Be sure to keep that pocket open for later!

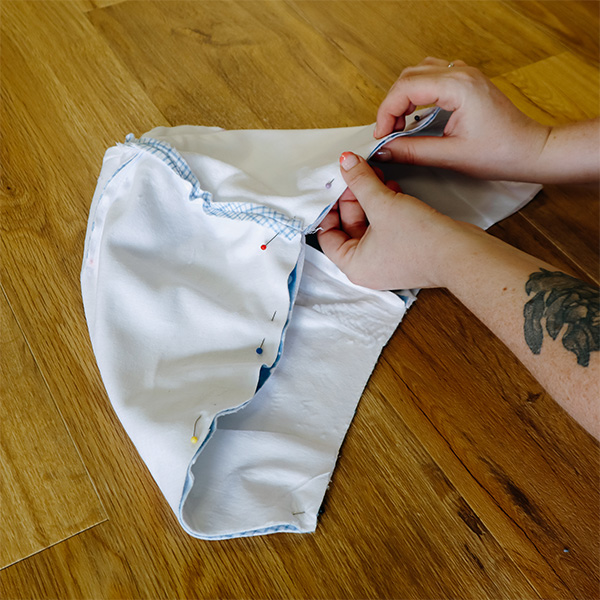
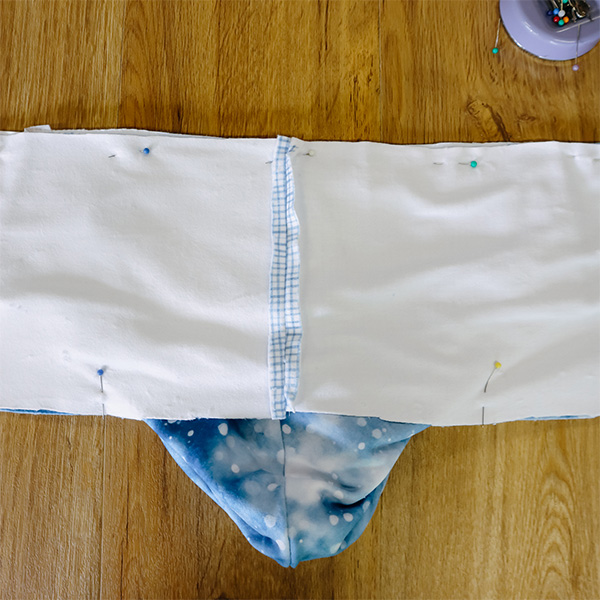
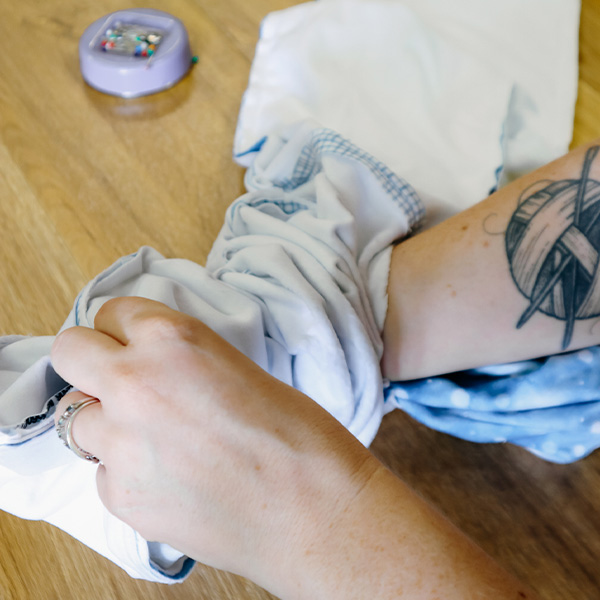
Step 11. Sew layers together
Now to sew all the layers together! Lay the sewn hood and scarf flat on the table with right sides up, then place your scarf lining on top. Leaving a 6” (15 cm) gap at the center back seam, sew around the entire edge of your scarf to secure the hood and mittens in.

Step 12. Flip scarf design side out
Turn your hooded scarf out through the center back hole and give it a good press. Stitch the center back hole closed and your hooded scarf is all finished!

Frequently Asked Questions
Want To Do More Polartec® Fleece Projects?
The post How To Make a Hooded Scarf appeared first on Spoonflower Blog.


